How to Make Candles in 7 Steps
If you are going to create homemade candles, make sure you have all of the materials beforehand. Cause the dreary sight of wax cured in a pitcher while you’re fumbling with Google queries like “buy wicks NOW” may never bring you back to this relaxing pastime.
We’ve designed a unique set for creating natural, high-quality, and adorable candles for those who want to make candles at home. Our set includes just the right amount of all consumables such as:
📍 premium soy wax Wax’N’Fire 041
📍 cotton wicks
📍 double sided glue dots for wicks
📍 centering devices
Additionally, you will need:
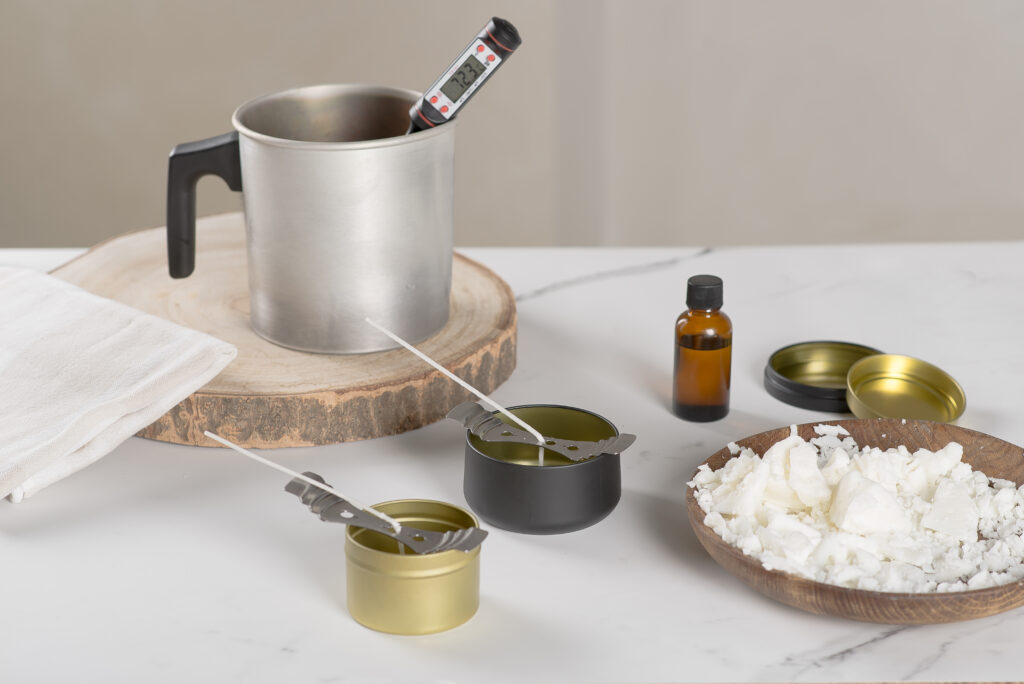
📍 a pot, a wax mixing container (a pitcher)
📍 a wax stirrer
📍 a thermometer, a pair of scissors
📍 jars for ready-made candles
📍 your favorite fragrance (we recommend using those designed specifically for soy candles)
📍 soy candle dies
Step-by-step guide on making candles:
- Melt the wax in a water bath until it is liquid at 65-75°С [149-167°F], stirring gently.
*Important: Do not heat wax above 85°С [185°F].
**Important: The indicated temperatures are valid for Wax’N’Fire 041. Each wax has its own melting point. Usually, it is indicated on the packaging.
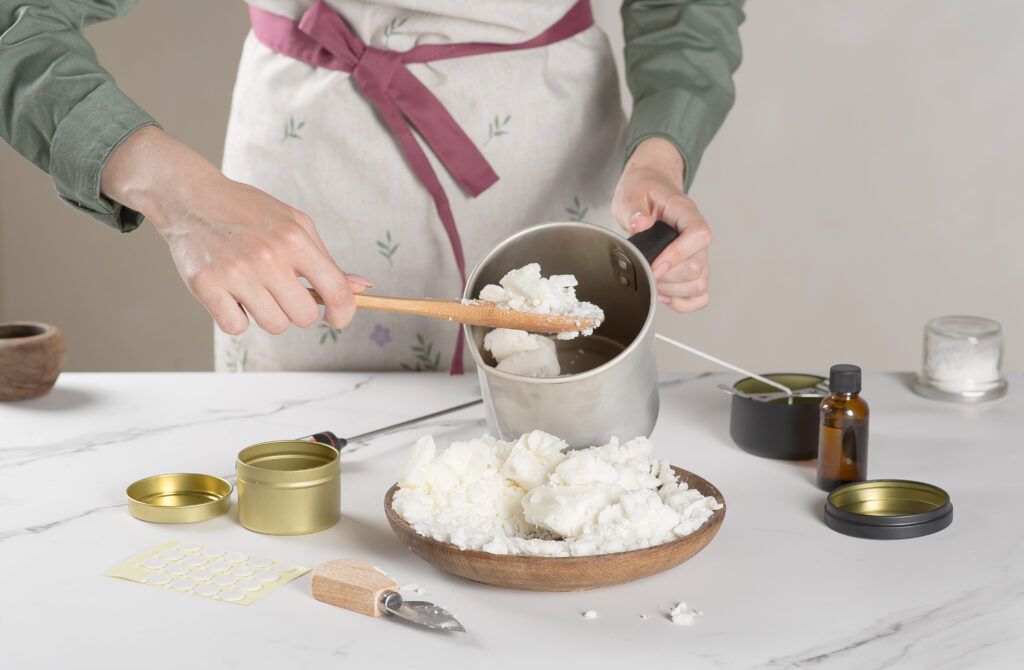
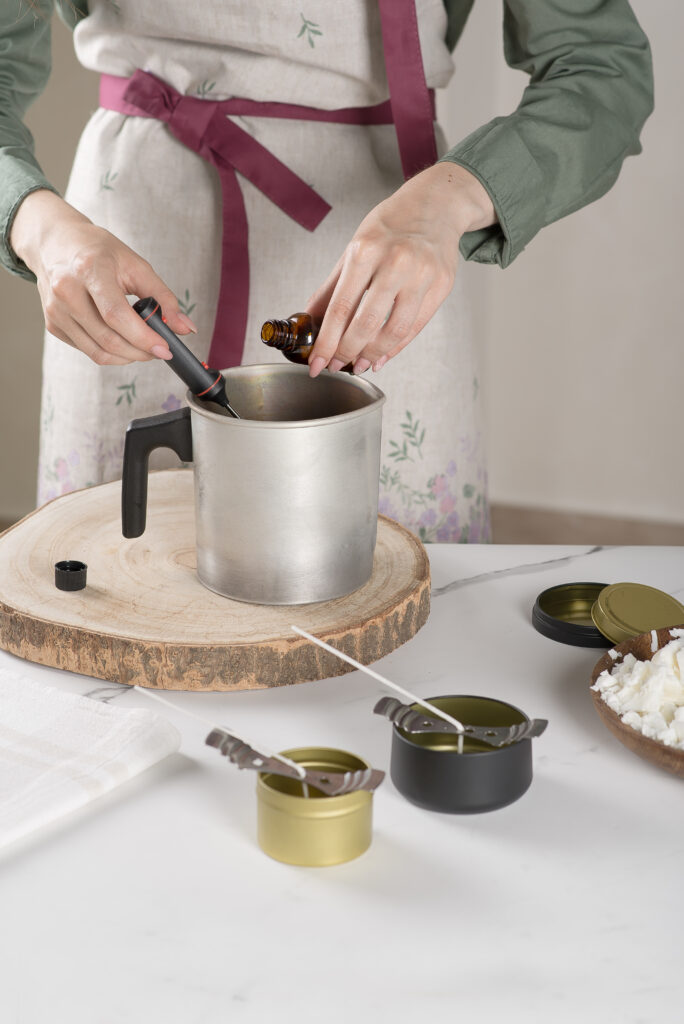
- Remove the wax from the water bath. If desired, at this stage, while the wax is cooling, you can add fragrance (6-12% of the wax volume) or dye. After you have added the necessary ingredients, gently stir the wax.
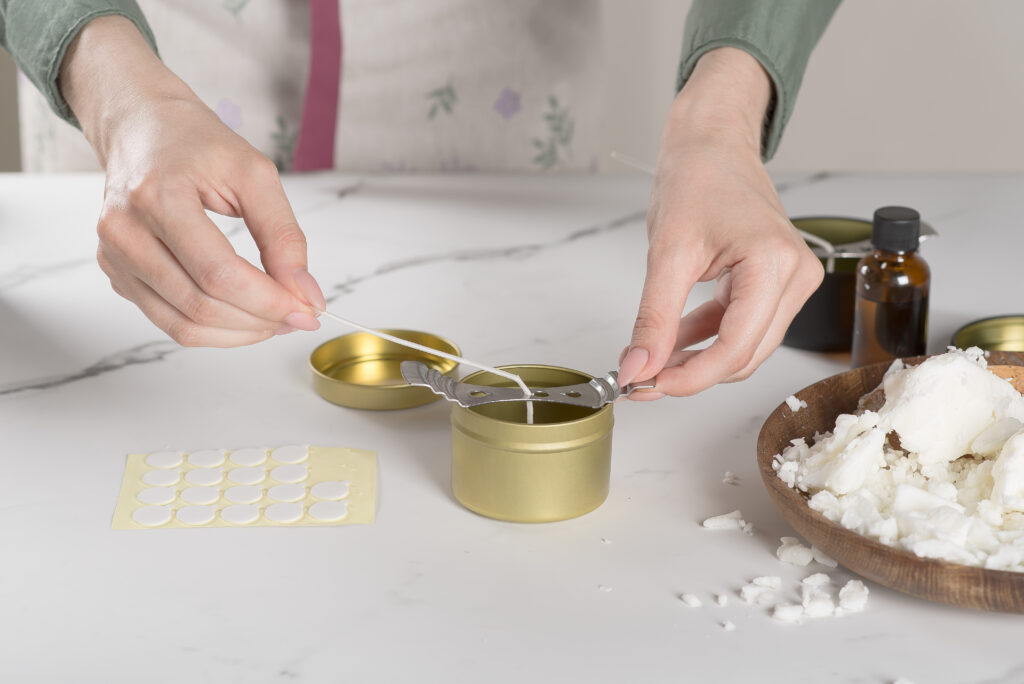
- Attach the double-sided glue dots for the wick on the base of the wick.
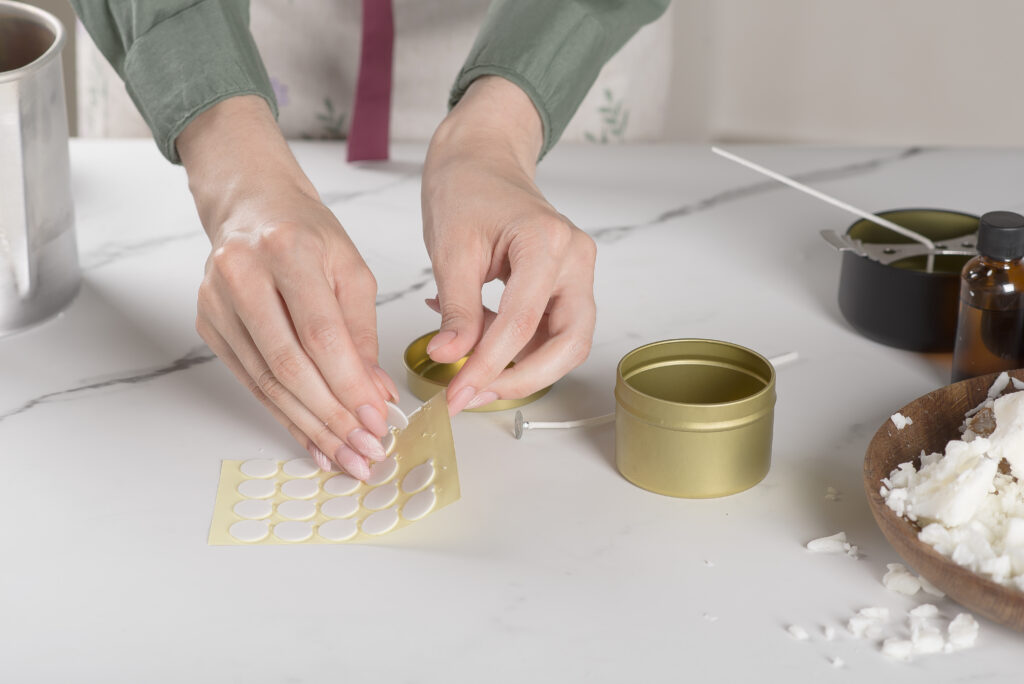
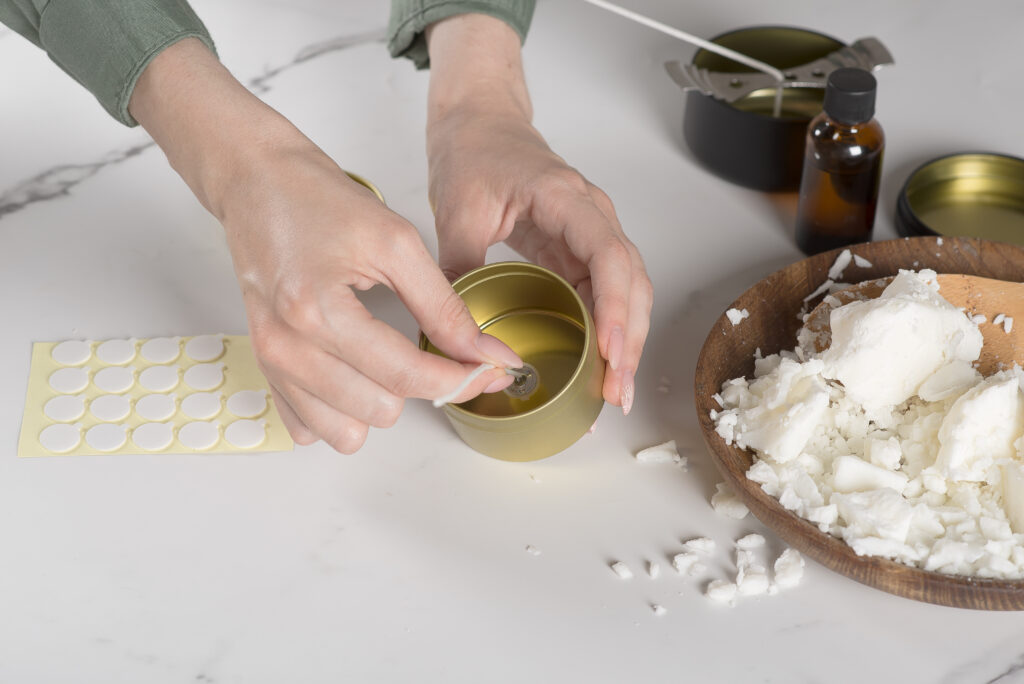
- Place the sticky side of the wick on the bottom of the container in the center and secure the wick to the surface of the container using the centering device.
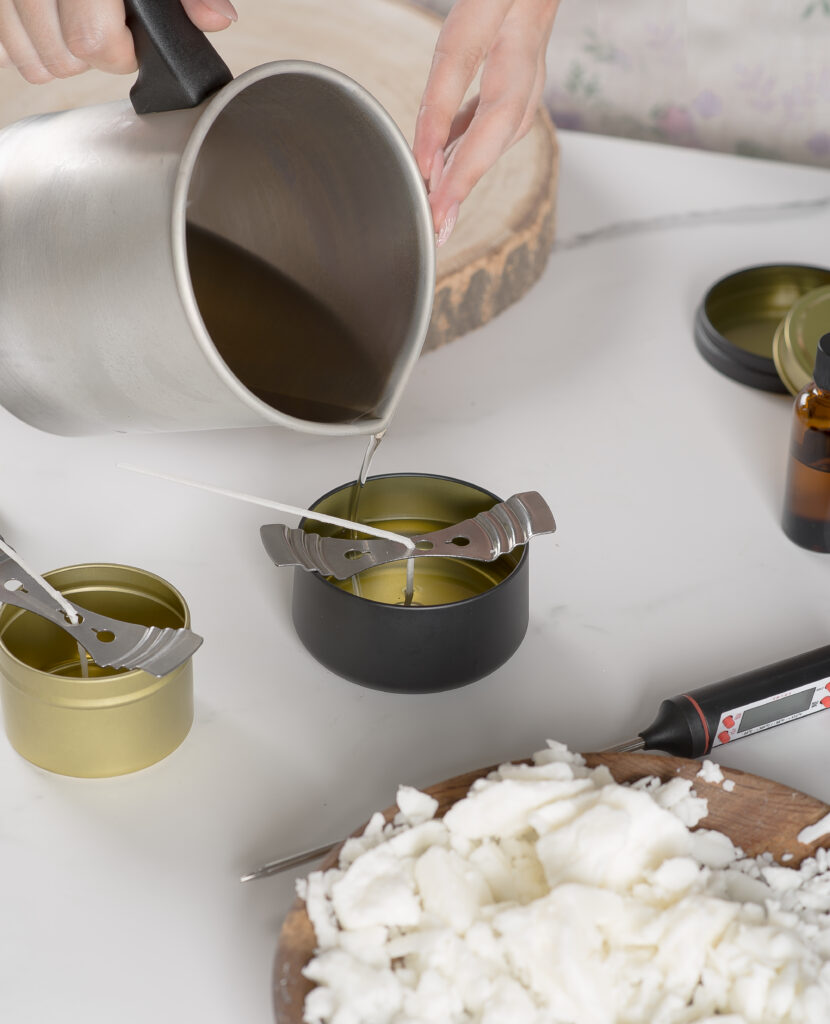
- Cool the wax to 28-35°С [135-149°F] (or when the wax starts to become cloudy and slightly crystallize at the top) and stir in the fragrance again.
- Pour the wax into a container with a wick.
*It is not advisable to move the container as the wax hardens.
- When hardened (around 8-10 hours), cut the wick after the candle has set and leave 8-10 mm from the surface.

Congratulations! You have created natural soy candles with your own hands.
And always remember: practice makes perfect. We will add to this website the articles that will help you deal with various challenges that you may face while making candles.
Follow our updates to learn more about candle-making.
We aim to inspire as many people as possible to create handmade candles and thus make the production and usage of candles more popular.
If you have any questions or you want to get acquainted with our other products of ours, go to our Insta @wax.n.fire